
Last updated October 17, 2026
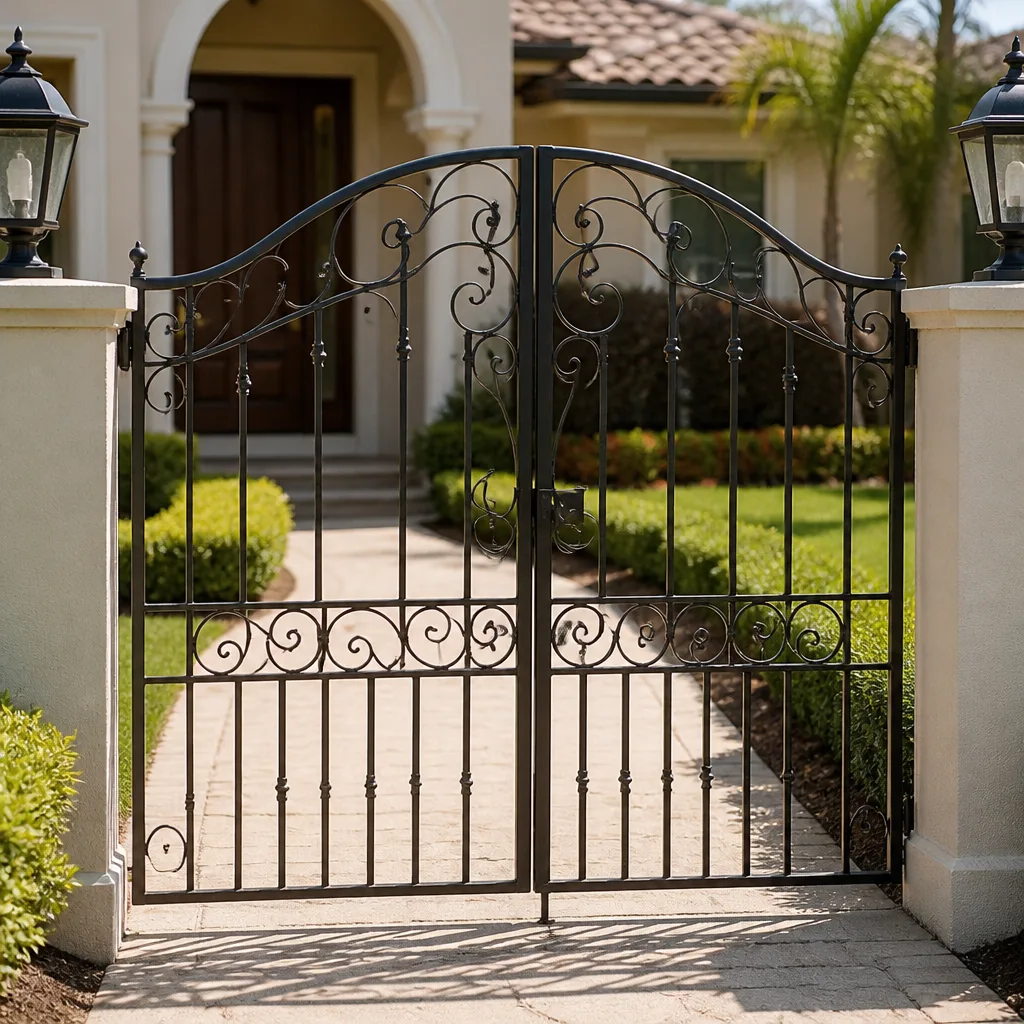 Wrought iron
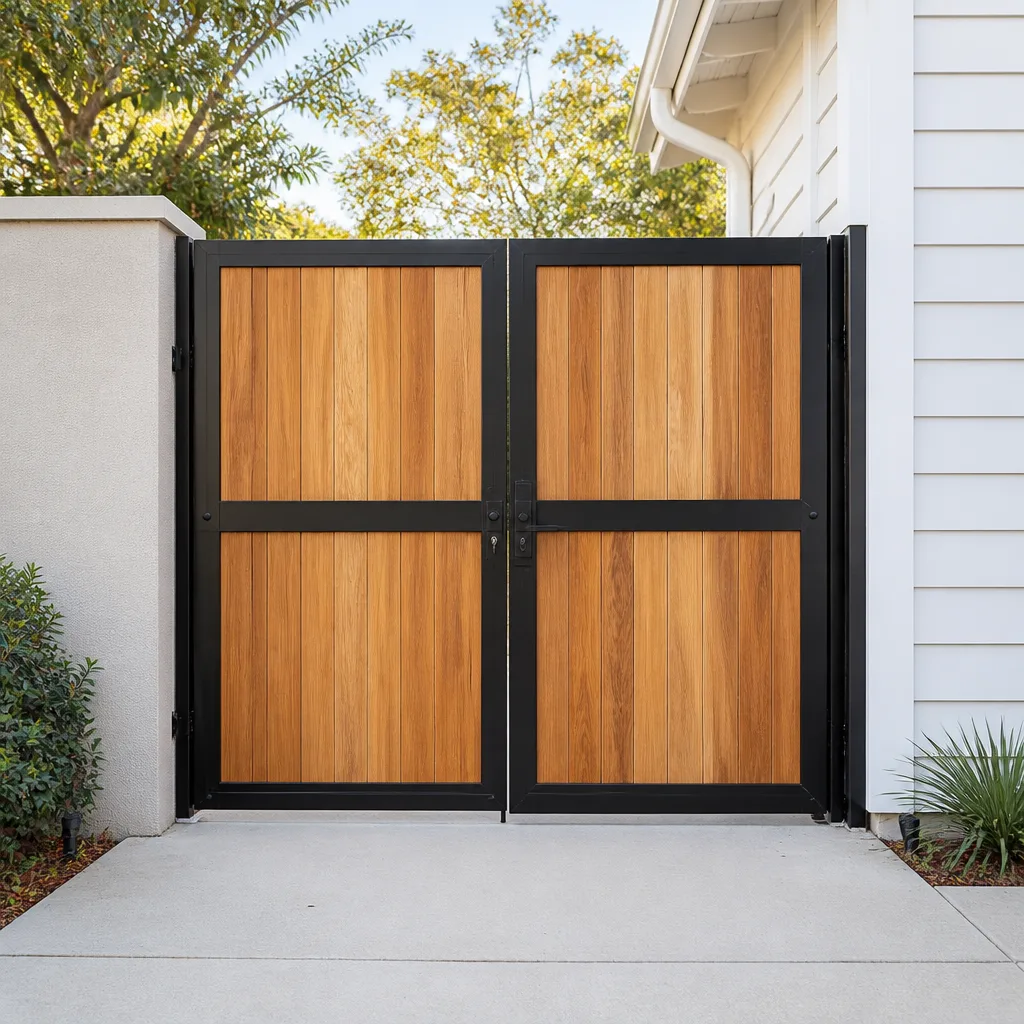 Wood & steel frame
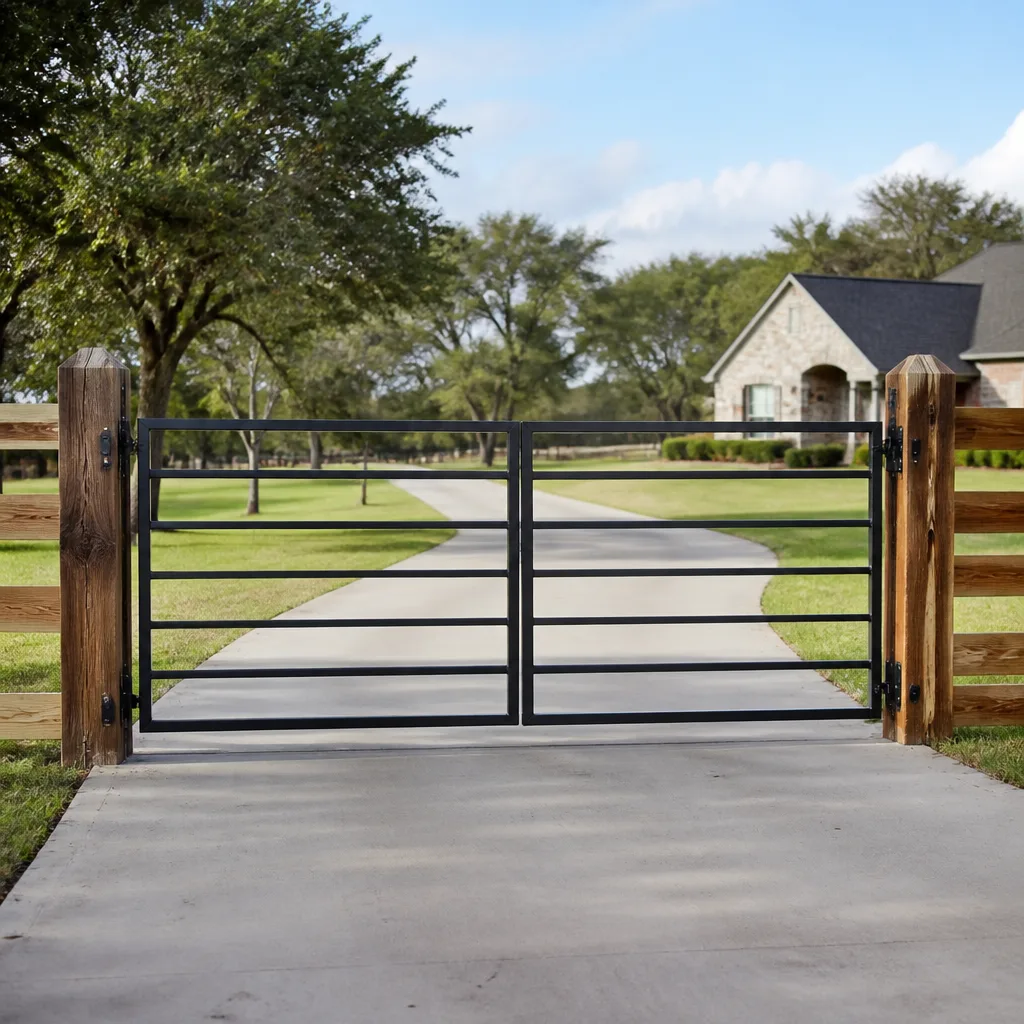 Farm & ranch
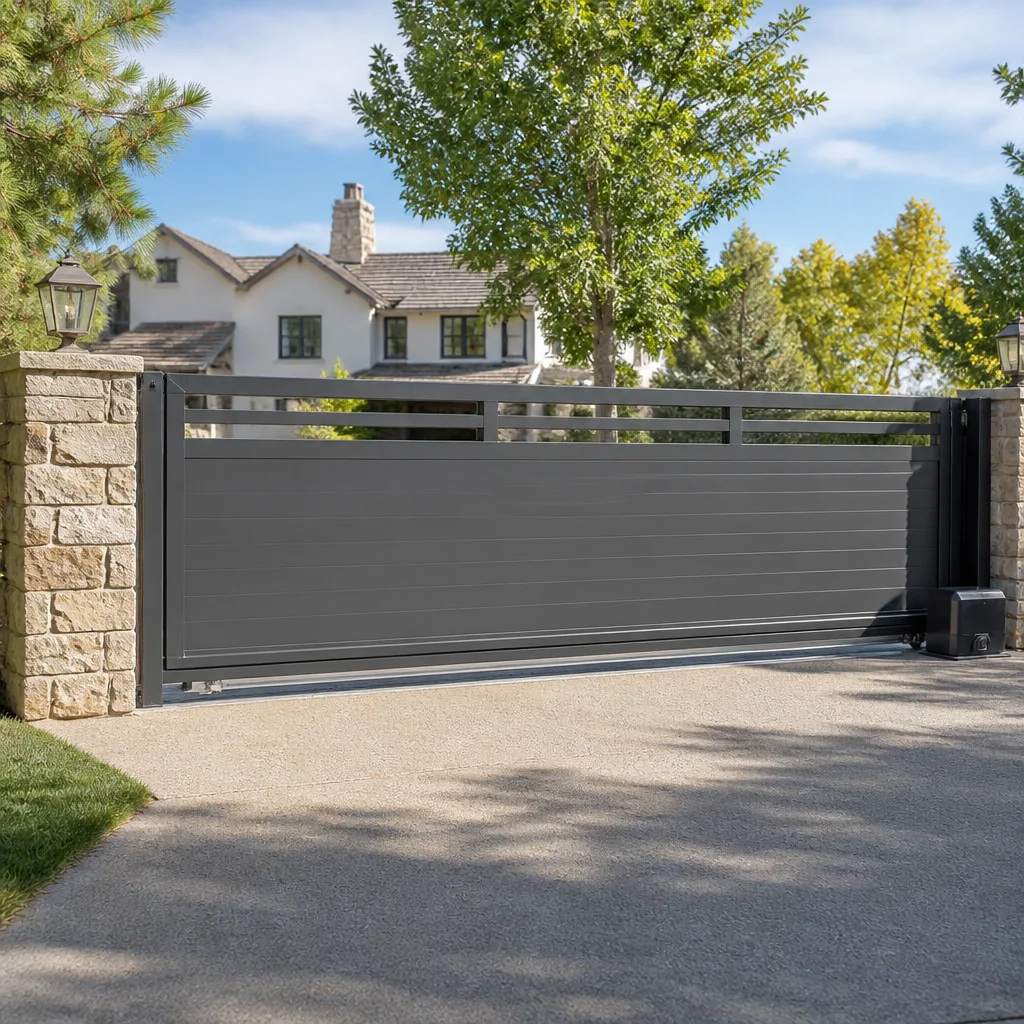 Sliding driveway gates
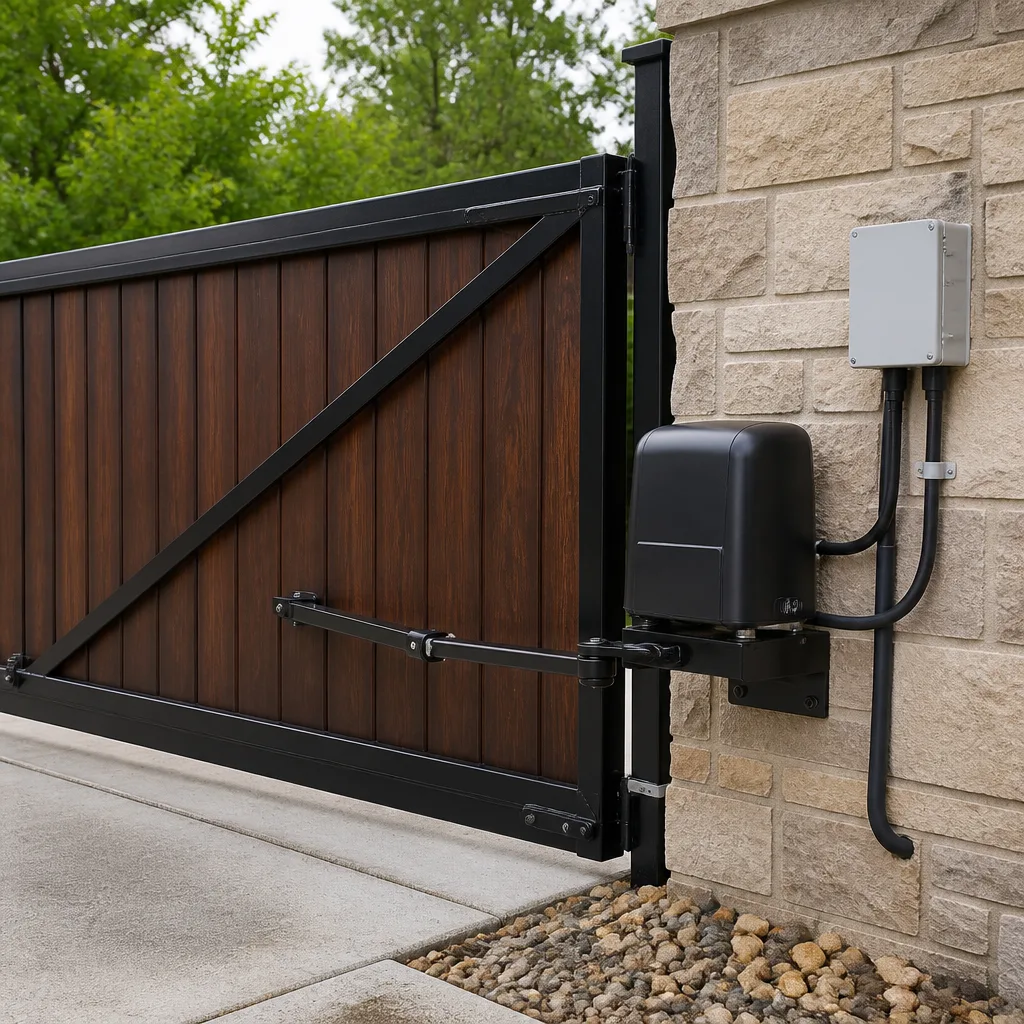 LiftMaster operators
Free on-site gate assessment - hinges, posts, and your LiftMaster or Nice gate operator checked before anything is quoted
The assessment is free and the quote is the invoice.
Get your free estimateGate Repair Warning Signs: A West Palm Beach Homeowner’s Reference Guide
A gate that sags one-half inch at the latch-side corner is not “settling.” It is a measurable sign that the hinge-side post anchor is loosening, and in West Palm Beach’s sandy, rain-soaked soil, that process can move from nuisance to structural failure in as little as one wet season. Most homeowners in West Palm Beach live with a gate that groans, drags, or leans for months before the latch stops catching or a hinge tears free entirely. This guide translates those quiet signals into plain language, assigns each one a likely cause, and tells you which signs you can watch and document versus which ones need a gate repair in West Palm Beach within the week. By the time you finish reading, you’ll know exactly what to measure, what to record, and when to pick up the phone.
Quick Answer
The clearest warning signs that a gate needs repair in West Palm Beach are a sag of more than one-half inch at the latch corner, a post that leans or shifts when pushed, a grinding or dragging sound during opening, slow or hesitant movement on an electric operator, and rust blooms or hairline cracks at hinge welds. Most of these can be measured with a tape measure and a level in under ten minutes. If you notice two or more of these signals together, schedule a Gate Repair services diagnostic visit before the next heavy rain.
Styles & brands we work with
Table of Contents
- The Visual Inspection Map: What to Check, Gate by Gate
- Sound-Based Warning Signs: Squeak Versus Grind
- Alignment Warning Signs and West Palm Beach Soil
- Electric Gate Operator Warning Signs
- Hinge and Latch Failures: The Two Parts That Carry Everything
- Documenting Warning Signs With Your Phone
- Common Mistakes to Avoid
- When to Call a Professional
- Frequently Asked Questions
The Visual Inspection Map: What to Check, Gate by Gate
Every gate comes down to two parts: the latch that holds it and the post that carries it. Everything else hangs off those two anchors. When we inspect a gate in West Palm Beach, we work through a set of specific measurements at each connection point, and you can do the same walkaround in about fifteen minutes. Here is what to look at, in order, with the numbers that separate normal wear from a repair threshold.
The Post: The Anchor That Decides Everything
Stand at the hinge-side post and push the gate gently toward and away from you. Watch the post itself, not the gate. A post that moves even one-eighth of an inch at the base is no longer fully anchored. In West Palm Beach, where the water table sits high and the soil drains fast, post anchors loosen faster than in clay-heavy regions. Water moves through sand, carrying fine particles away from the concrete collar around the post base. The post does not need to be visibly tilted to be failing. Movement under load is the earlier signal.
Then measure the gap between the bottom edge of the gate and the ground. Most driveway and garden gates in this area are hung with two to four inches of clearance. If that gap narrows by more than one-half inch on the latch side compared to the hinge side, the post is leaning or the hinges are spreading. Mark the measurement in pencil on the post itself so you can check it again after the next rain.
The Hinge: Where Metal Fatigue Shows First
Look at each hinge weld or bolt point. You are looking for three things: rust blooms (small orange-brown stains that spread from the weld point), hairline cracks that follow the edge of the weld, and elongation in the bolt holes (the bolt sits lower in the hole than it did when new). Any one of those means the hinge is fatiguing. In our experience, a hinge that shows rust blooms at the top edge in a salt-air neighborhood like El Cid or Southland Park is typically six to twelve months from failure. The salt in the air accelerates corrosion even on powder-coated steel.
The Frame and Latch
Run your hand along the top rail and the vertical stiles. You are feeling for soft spots, blisters under the paint, or flaking that reveals pitted metal underneath. These are early-stage corrosion points, and on tubular steel gates they often start on the underside of the top rail where water sits after rain. The latch itself should close with a solid click, not a rattle. If the latch only catches when you lift the gate or push it hard against the post, the alignment has already shifted past the point where adjusting the latch alone will help.
The Drop Rod and Ground Socket
Many West Palm Beach gates use a drop rod that slides into a socket set in the concrete or pavers. The socket fills with sand and debris over time. When the rod no longer drops cleanly, or you have to kick it into place, the socket is packed or the gate has sagged enough to misalign the rod. That misalignment is itself a warning sign: the gate is no longer square to the opening.
Key Measurements in One List
- Post movement: any visible movement at the base when pushed = anchor failing
- Sag at latch corner: more than one-half inch = repair threshold
- Hinge rust blooms: present at any weld = fatigue point, inspect within a month
- Latch click: needs a lift or a shove = alignment shifted, repair threshold reached
- Drop rod: requires force to seat = socket packed or gate out of square
Sound-Based Warning Signs: Squeak Versus Grind
The sounds a gate makes are the most reliable early warning system you own, but only if you know what you are hearing. A squeak and a grind are completely different signals, and they call for different responses.
The Squeak: Lubrication, Not a Repair
A high-pitched squeak that happens at the same point in the swing cycle is almost always a dry hinge pin or a dry latch mechanism. This is the sound of metal sliding against metal without enough lubricant between the surfaces. On most residential gates, a silicone-based lubricant applied to the hinge pins and the latch tongue resolves the squeak immediately. There is no metal being damaged in a meaningful way yet. This is a maintenance item you can handle yourself, and it costs less than fifteen dollars.
The Grind: Hinge Metal Fatigue
A grinding sound is different. It is lower in pitch, sounds gritty or rough, and often gets worse the farther the gate swings. That sound means the hinge barrel or pin has worn past the point where lubrication can help. Metal particles are being shed into the hinge joint. In our work across West Palm Beach, a grinding hinge on a double-swing driveway gate typically costs between $150 and $280 to address properly, depending on whether the hinge is bolted or welded and whether the gate must be re-squared in the process. Leaving a grinding hinge in place for weeks or months means the wear accelerates, and eventually the gate drops at the latch corner or the hinge tears at the weld.
Other Sounds Worth Noting
- A rhythmic click during the swing suggests a loose bolt or a cracked weld flexing under load. Mark the hinge area and watch for movement.
- A sharp snap when the latch closes suggests a spring-loaded latch mechanism failing. The gate may still hold now, but the spring is the part that keeps it closed.
- A rattle when the gate is closed means the latch is no longer seating tightly. This can be a latch adjustment, but if the gate frame is the part rattling, the post or hinge has moved.
No two failing gates sound exactly the same, but the distinction between squeak and grind is the single most useful sound-diagnostic you can learn. Squeaks are routine. Grinds are structural.
Alignment Warning Signs and West Palm Beach Soil
West Palm Beach sits on a mix of sandy soils, fill, and a high water table that fluctuates with the wet season. Those conditions affect every gate set in the ground, whether it is a garden gate in Flamingo Park or a driveway gate in Ibis. The specific failure mode here is not sinking (the way gates sink in clay-heavy northern soils); it is lateral movement. Posts lean. Hinges twist. Gates drag at the latch corner. Here is how to measure what is happening.
Measuring Sag: The One-Half-Inch Rule
Open the gate to 45 degrees. Run a tape measure from the bottom of the latch-side corner to the ground. Then run it from the bottom of the hinge-side corner to the ground. If the latch-side measurement is more than one-half inch smaller, the gate has sagged past the point where a latch adjustment alone will fix it. The sag is coming from post movement or hinge wear, not from the latch itself. Record the measurement and check it again in two weeks. In West Palm Beach’s rainy season, a gate that has already sagged one-half inch can lose another quarter inch in a single month of daily afternoon storms.
Measuring Lean: The Level Test
Place a four-foot level against the hinge-side post on the face that runs parallel to the gate. The bubble should sit center. If the bubble moves to one end of the vial, the post has started to lean. A lean of more than one-quarter inch over four feet means the concrete collar around the post base has shifted in the soil. This is the measurement that tells you the problem is in the ground, not in the hinge. A gate specialist can address a leaning post by re-setting the anchor, but the fix must happen before the post reaches the point where it is visibly tilted to the eye. By then the anchor has often rotated inside the soil and the repair is larger.
Why West Palm Beach Soil Accelerates This
Sand drains fast, which sounds like good news for a post anchor. The complication is that fast-draining soil also allows water to move freely around the concrete collar during heavy rain, and the repeated wet-dry cycles loosen the bond between soil and concrete. Add the salt content in the air near the Intracoastal and the corrosion at the post base, and you have a failure sequence that happens faster here than in most Florida interior locations. We have seen posts in West Palm Beach neighborhoods move from solid to visibly leaning in a single intense rainy season when the gate was already showing pre-existing rust at the base.
A Step-by-Step Weekly Check
- Push the gate gently toward and away from you and watch the hinge-side post base.
- Measure the ground clearance at both corners with the gate at 45 degrees.
- Place the level against the post face and note the bubble position.
- Write the three measurements in a note on your phone, dated.
- Compare after every heavy rain week in summer.
This takes four minutes, and it gives you an early-warning record that a diagnostic visit can use; find more guides & resources to help you track gate condition over time. When a homeowner calls us with measurements and dates already in hand, we arrive knowing whether the gate has moved in the last week or the last six months.
Electric Gate Operator Warning Signs
Electric gate operators from LiftMaster, DoorKing, and Elite dominate West Palm Beach driveways, and they all share the same failure language. The operator will almost never fail without warning. It slows down first. It hesitates. It changes pitch. Each of those changes is a message about what is wearing inside the motor, the control board, or the gate hardware the operator is trying to move.
Slow Cycles: The First Signal
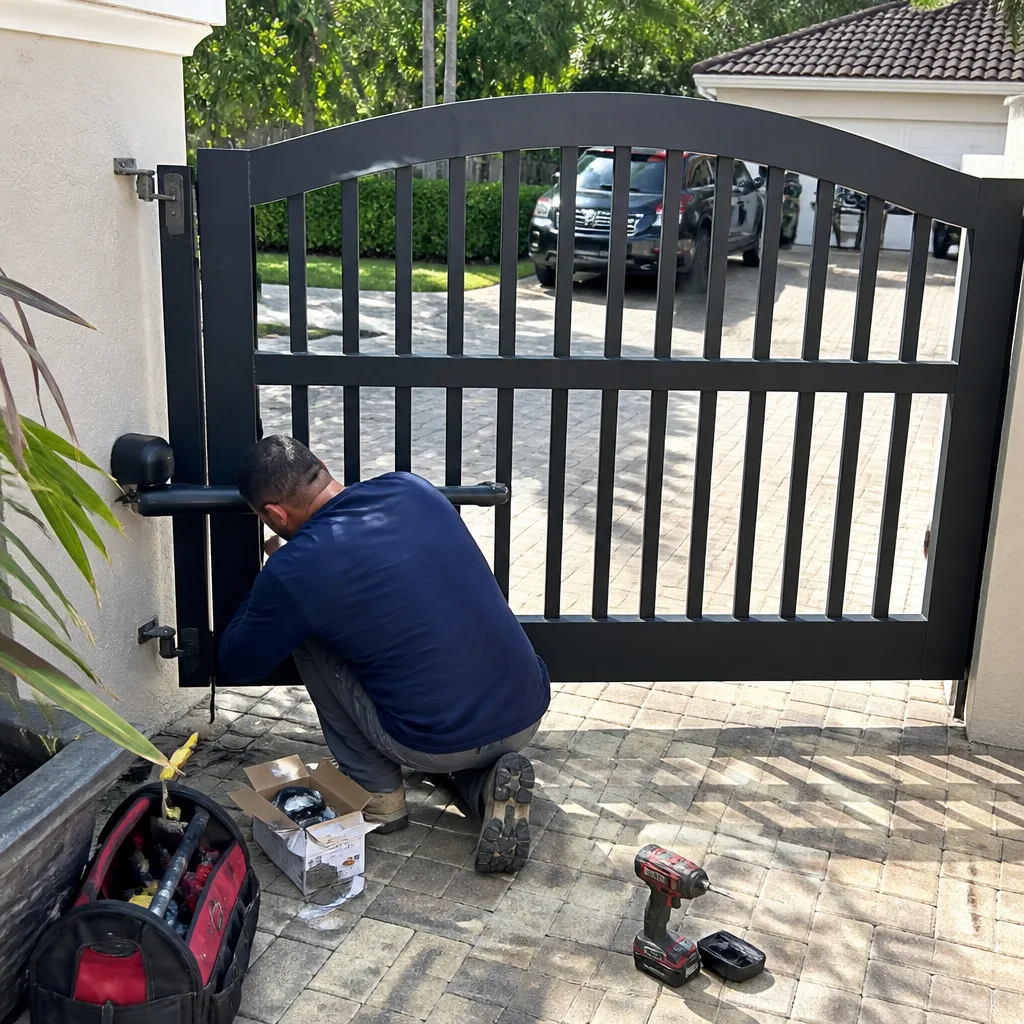
An operator that opens the gate noticeably slower than it did a month ago is telling you one of two things: the motor is losing output, or the gate itself has become harder to move. The second option is more common in West Palm Beach, because a gate that has sagged slightly at the latch corner now drags across the actuator arm, and the operator works harder with every cycle. You can tell the difference by disengaging the operator (most have a manual release handle) and opening the gate by hand. If it swings easily by hand but slowly under power, the problem is the operator. If it is stiff by hand too, the problem is the gate hardware, and the operator is the victim, not the culprit. Either way, call a electric gate repair in West Palm Beach specialist to diagnose it before the operator burns itself out.
Hesitation at Open or Close
A pause after you press the remote, followed by movement, is commonly a failing relay on the control board or a low-voltage issue at the power supply. A pause mid-cycle, especially in the middle of the travel, is often a limit switch or obstruction sensor issue. Both of these are repairable, and catching them early keeps the cost in the low hundreds instead of replacing the entire operator. Most LiftMaster and DoorKing residential operators in this market are worth repairing, not replacing, when the issue is caught before the motor itself is damaged.
Unusual Motor Sounds
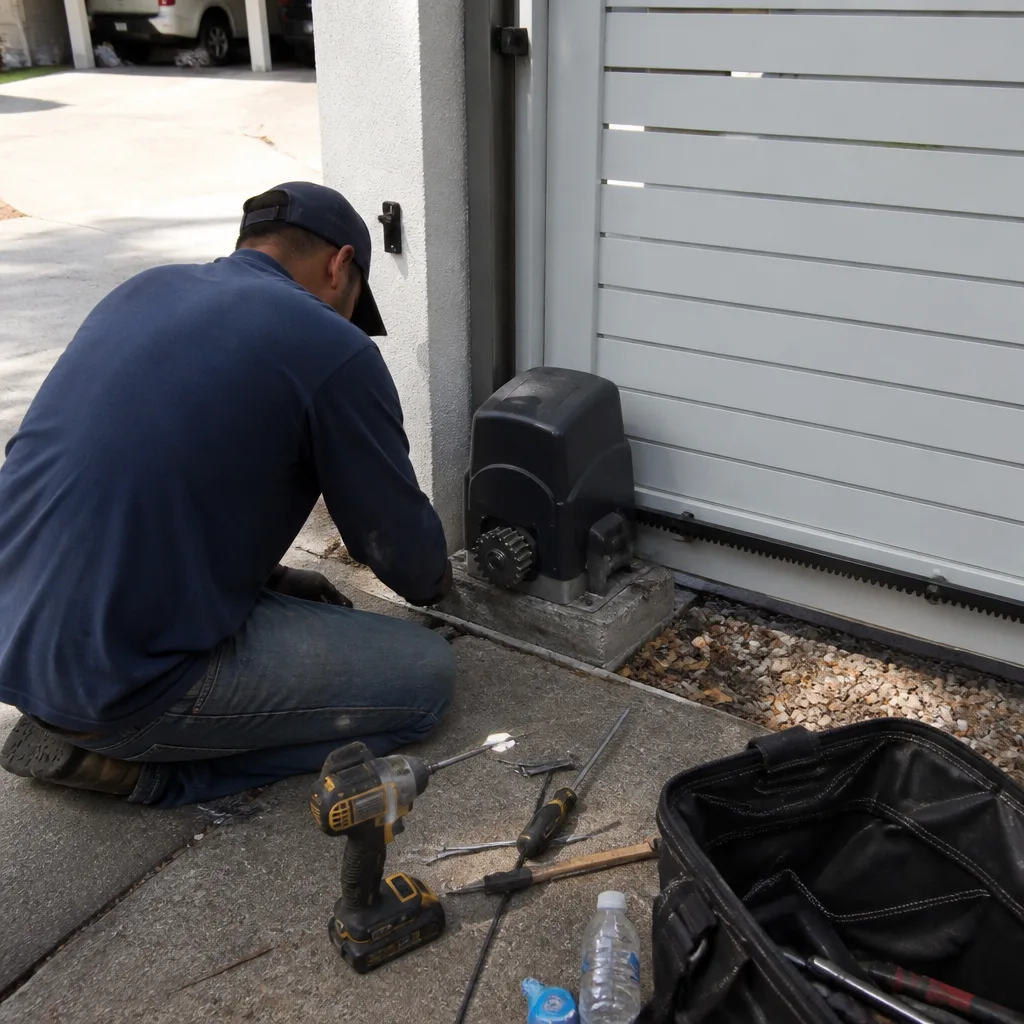
A humming sound without movement is the classic sign of a failing capacitor. The motor is receiving power but cannot start its rotation. A rattling or knocking sound during travel often means the drive belt or chain has worn and is slapping against the rail. A whining sound that rises in pitch as the gate moves suggests the bearings inside the motor are dry and heating. None of these sounds resolve on their own.
What to Note Before You Call
- The brand name stamped on the operator (LiftMaster, DoorKing, Elite, and Mighty Mule are the ones we see most in this area).
- Whether the remote works from the same distance it used to, or only when you are close.
- Whether the issue happens on every cycle or only when the gate is cold, wet, or after rain.
- Any recent change in the sound or speed of the cycle.
Those four notes save a diagnostic visit from starting from zero. When a West Palm Beach homeowner calls us and says “the DoorKing whines on every cycle and only opens from twenty feet now,” we arrive with a strong hypothesis already formed, and the fix usually happens on the first visit.
Hinge and Latch Failures: The Two Parts That Carry Everything
The latch and the hinge are the two points where a gate’s entire load concentrates. Everything else distributes force. These two points absorb it. That is why they are the first components to tell you something is wrong, and why they are the parts we focus on at Latch and Post Gate Repair West Palm Beach home. We would rather catch a hinge at the first rust bloom than replace a gate that tore free and fell across a driveway.
The Latch: Small Part, Clear Signal
A latch that sticks, rattles, or only catches when you lift the gate is not a latch problem by itself. It is an early-warning system. The latch is reporting that the gate is no longer square to the post. In our experience, most standard gate-latch replacements in West Palm Beach run between $120 and $240, and you will see the exact number in writing before we touch anything. But if the latch was fine six months ago and now requires a shove, the smarter move is to diagnose the alignment before replacing the latch. Otherwise the new latch wears out the same way the old one did.
The Hinge: Where Weight Meets Weather
West Palm Beach humidity and salt air are unforgiving to gate hinges. The hinge takes the full weight of the gate every time it swings, and the constant moisture means the metal never gets a true rest from corrosion. A heavy double-swing gate hung on three hinges may test each hinge differently: the top hinge carries tension, the bottom hinge carries compression, and the middle hinge carries shear. When one hinge shows rust blooms before the others, it is telling you the load is not distributed evenly anymore, which usually means the post has shifted slightly or the gate frame has twisted.
Replace, Repair, or Watch?
- Rust bloom only, no movement: wire-brush the area, inspect for pitting, and monitor monthly.
- Rust bloom plus gate movement at the hinge: the hinge is reaching its fatigue limit. Schedule a hinge replacement before the gate drops.
- Cracked weld or elongated bolt hole: do not wait. This is a mechanical failure in progress. The gate is a falling object waiting for the right load.
Every gate comes down to two parts: the latch that holds it and the post that carries it. That is the job we focus on, and that focus is why we measure before we replace anything.
Documenting Warning Signs With Your Phone
You have a diagnostic tool in your pocket that gate technicians did not have a generation ago: a camera that records video with sound and timestamps every frame. Using it well changes the quality of a repair visit. Here is how to document gate warning signs so that when you call a professional, the technician arrives prepared instead of starting from a blank slate.
The Photo Set That Tells the Story
- Full gate, closed, from ten feet back. This shows the overall alignment and the relationship between the gate and the post.
- Each hinge, close enough to see the weld or bolt point. Use the phone’s macro mode if it has one. Rust blooms and hairline cracks show up better in a close photo than from a distance.
- The latch and strike plate, aligned or misaligned. A photo that shows the latch sitting high or low relative to the strike plate is the fastest way to communicate sag visually.
- The post base and the ground around it. Western light from the afternoon works best. Look for cracking in the concrete collar or soil pulled away from the post.
- The operator, brand label visible. A clear photo of the model number saves a phone call later.
The Video That Captures Sound
Record a ten-second video of the gate opening and closing from the side where the hinges sit. Hold the phone still. The audio captures the squeak versus grind distinction better than a written description ever will. Then record one more ten-second clip from the latch side, showing the latch engaging or missing. Send both clips when you call for a diagnostic visit. A technician who has heard the hinge and seen the latch before arriving brings the right parts on the first trip.
A Running Note on Your Phone
Start a note titled with the gate location (for example, “Front Drive Gate”). Every time you notice a change, add a dated line: “June 14: squeak now a grind, happens at same point every swing.” Over six weeks, that note is a repair history in miniature, and it tells a technician whether the gate is deteriorating quickly or slowly. That information changes the recommendation and the timeline for gate installation in West Palm Beach if replacement becomes the right call.
Common Mistakes to Avoid
- Adjusting the latch to compensate for sag. A lower latch catches a sagging gate, but the sag continues to grow, and now the latch conceals it. The gate still fails; you just lose the early warning signal.
- Ignoring a slow electric operator. A slower cycle means the operator is working harder, which generates heat in the motor. Heat shortens motor life. Every week of ignoring a slow cycle is a week of motor wear you cannot get back.
- Using the wrong lubricant. Petroleum-based sprays attract sand and dust in West Palm Beach’s coastal air. What starts as a fix becomes a grinding paste inside the hinge pin. Use a silicone-based or lithium-based lubricant.
- Waiting until the gate stops working completely. A gate that fails at the end of the dry season may have been warning you since the first week of summer. The repair bill is almost always lower when the warning signs are addressed while the gate still functions.
- Not checking the post when the gate drags. Most people look at the hinge or the latch when a gate starts dragging. The root cause is often the post anchor loosening in sandy soil. Fix the post and the gate squares itself; fix the hinge and the post continues to lean.
- Skipping the documentation step. Ten minutes of photos and a dated note today means a technician arrives tomorrow with the right parts and no second visit. That is the difference between a one-trip repair and a follow-up.
When to Call a Professional
Call a professional when the sag at the latch corner exceeds one-half inch and the post moves under hand pressure. Call when the grind has replaced the squeak, when the operator slows down and stays slow, and when a hinge shows rust blooms plus movement at the weld. These are the thresholds where a repair stops being a maintenance item and becomes a structural correction. Latch and Post Gate Repair West Palm Beach offers free estimates in West Palm Beach, and every visit includes a written price before work starts. Call (728) 203-0817 and a live person will answer, day or night.
Frequently Asked Questions
The first signs are usually a sag of more than one-half inch at the latch corner, a post that moves when you push the gate, and a change in sound from a squeak to a grind. In West Palm Beach’s sandy soil, a leaning post is often the root cause, and it shows up before the gate starts dragging visibly. If you notice any of those three, take measurements and call a gate specialist before the next rainy season.
Gate repair costs in West Palm Beach typically range from $120 for a basic latch replacement to $280 for a hinge repair or realignment, with electric operator repairs running higher depending on the brand and failure point. The exact price depends on the gate’s size, the hardware type, and whether the post needs to be re-set. Latch and Post Gate Repair West Palm Beach provides a written price before any work starts, so there are no surprises. Call (728) 203-0817 for a free estimate.
Yes, a squeak that responds immediately to a silicone-based lubricant is a maintenance item and does not require a service call. The concern is when the sound is a grind rather than a squeak, when the lubrication does not quiet the hinge, or when the gate still drags after lubricating. Those are signs of hinge fatigue or post movement, and they need a professional look.
West Palm Beach’s sandy soil drains fast, but the rapid wet-dry cycle during the summer rainy season loosens the bond between post anchors and the surrounding ground. Add the salt air near the Intracoastal, which accelerates corrosion at the post base and hinges, and you get a faster failure sequence than in clay-heavy inland soils. That is why we recommend measuring gate clearance monthly during the wet season.
A gate that slows down in wet weather is often dragging at the hinge or latch corner, and the added friction becomes noticeable when the hardware is wet. It can also indicate moisture affecting an electrical connection or a limit switch. Note when the slowing happens and whether the gate is stiff by hand in the same conditions, then call a professional with those details.
Repair is usually the right call when the post anchor is sound, the gate frame is not twisted, and the hinges and latch are the failing components. A full installation makes more sense when the post has shifted significantly in the soil, the frame is rusted through in multiple places, or the gate no longer matches how you use your property. A diagnostic visit with measurements and photos will tell you which path is cheaper in the long run. Call (728) 203-0817 and we will measure, document, and explain the options in plain terms.
The Bottom Line
A gate that warns you is a gate you can save. The warning signs are all measurable: a half inch of sag, a post that shifts, a squeak that has turned into a grind, an operator that cycles slower than it did last month. In West Palm Beach, where sandy soil and salt air accelerate every one of those failures, the difference between a $150 hinge repair and a $2,000 gate replacement is often just a few weeks of attention. Document what you see, measure what you can, and call someone who will write the price down before the work begins. Your floors will stay clean, your gate will stay square, and you will know exactly what you are paying for.
Written by Cody Beckman, Owner at Latch and Post Gate Repair West Palm Beach, serving West Palm Beach since 2009.
See the difference
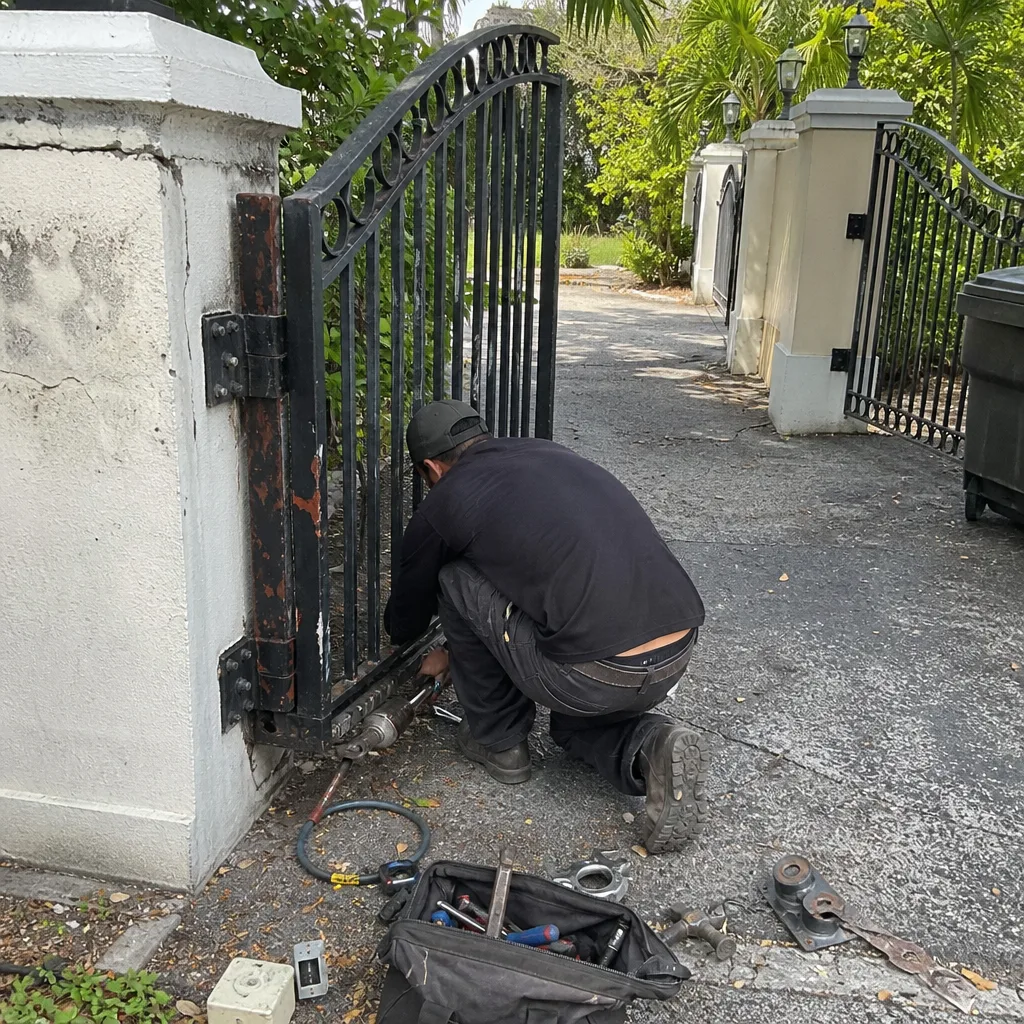 Before
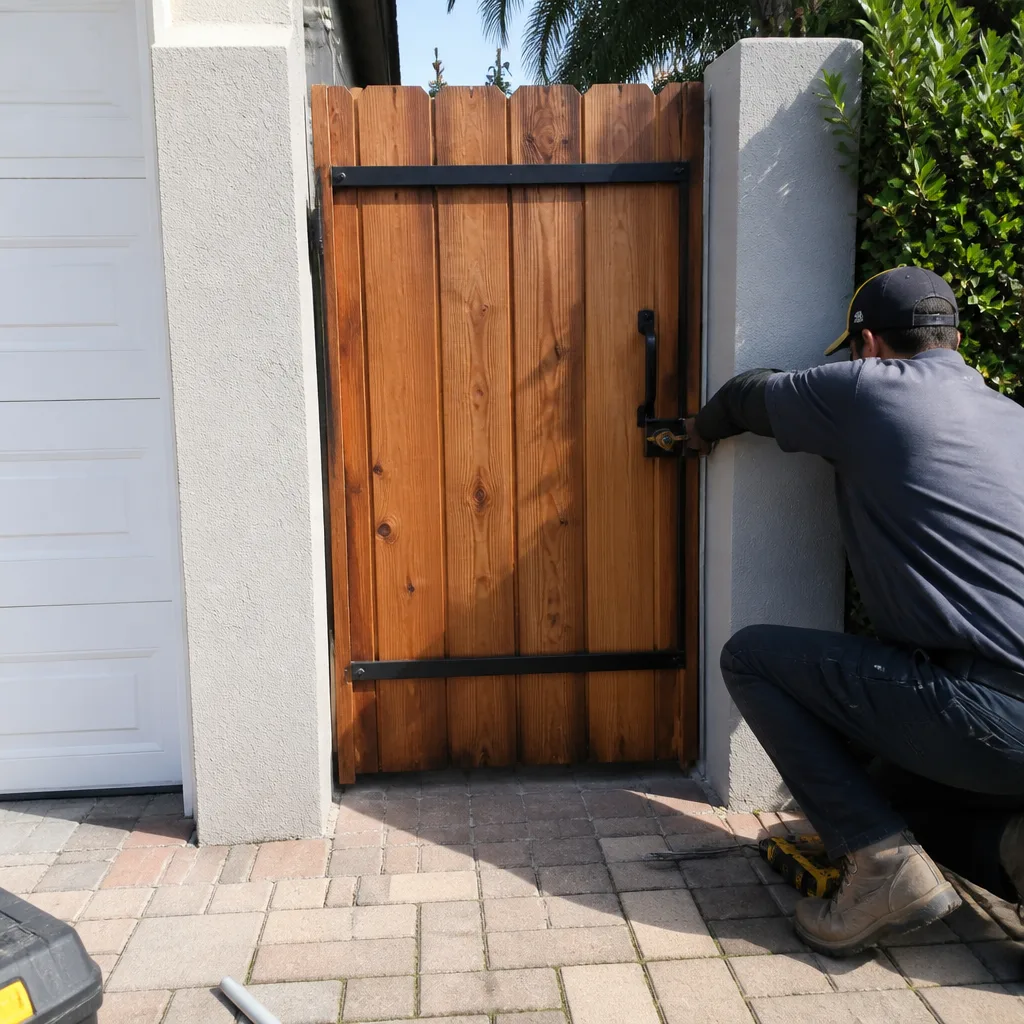 After
After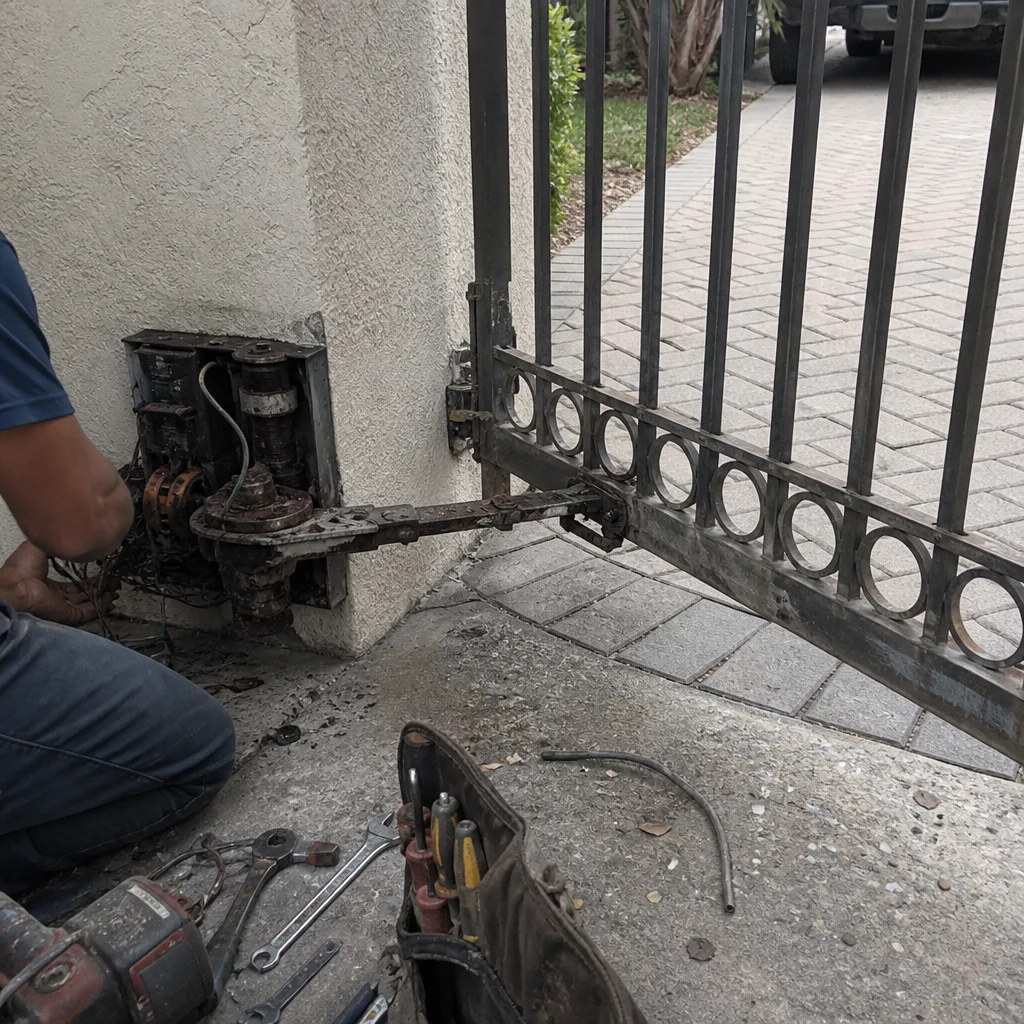 Before
 After
After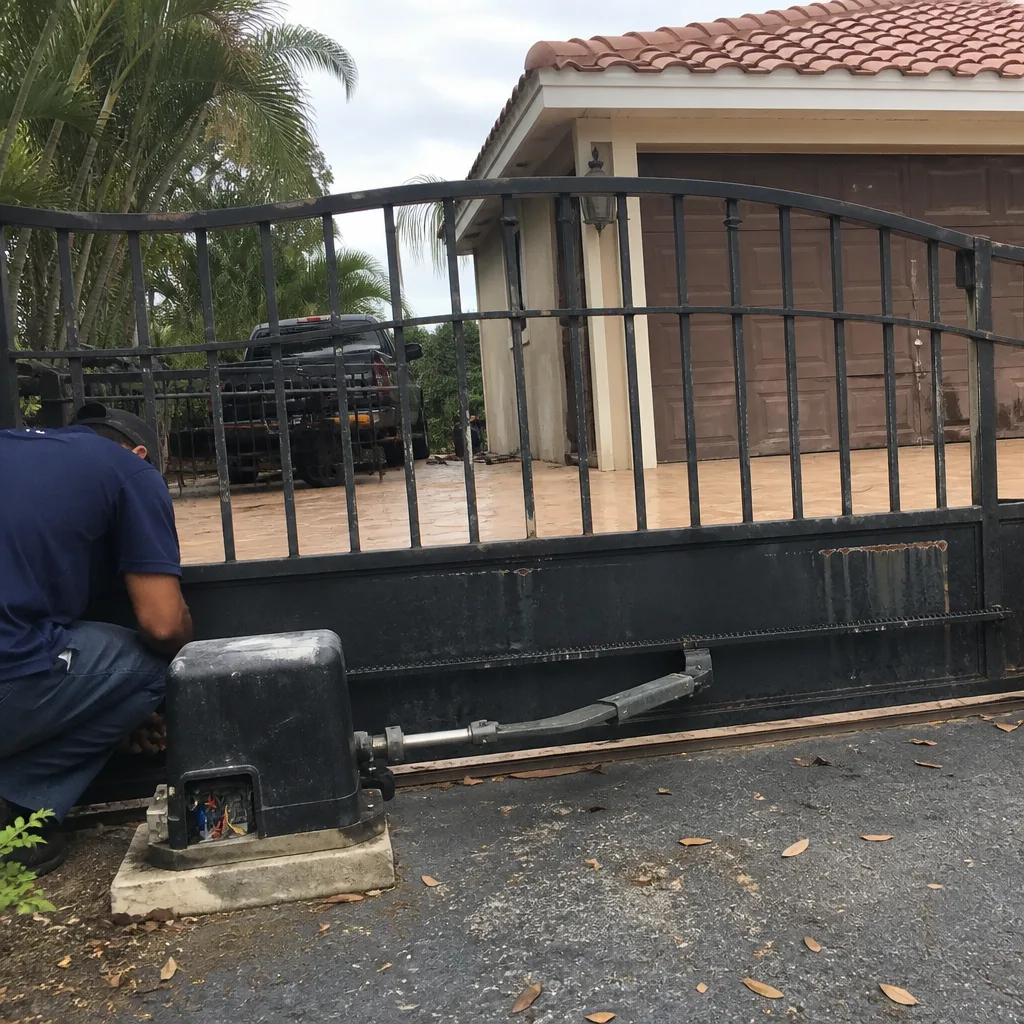 Before
 After
After